The HTC One M8 is a good phone, capable of running Android 10 through a Lineage OS image. However, over time, the battery cannot supply high current demands, and the phone can switch off. This usually happens when using the camera, and can occur at anywhere up to 45% battery.
The iFixIt guide gave the HTC One M8 a Repairability score of 2 out of 10. Despite this, the phone is not entirely glued together, and, it is a straightforward job to fit a new battery or to fix the ‘shaking camera’ problem for less than £20. This means you effectively get years more out of a decent device, and if care is taken, you won’t lose any of your data.
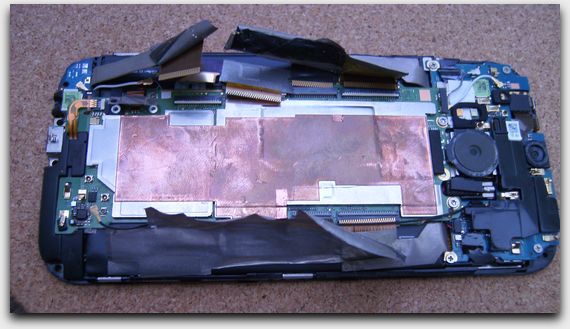
HTC One M8 (Back Cover Removed)
There are numerous online guides for the fix, including on YouTube, so I will not go into too many details. If you leave yourself lots of time and have the correct tools and a spare afternoon, you’ll be successful.
You need:
- A pack of phone repair tools (about £4 delivered), containing:
- A Torx T6 screwdriver.
- A #000 Phillips screwdriver.
- SIM card eject tool (you likely have one of these already).
- Thin guitar-pick, triangular, nylon spudgers.
- A couple of the standard nylon spudgers you normally find in repair kits.
- A flat, long, plastic spudger for getting in between the battery and screen.
- One metal spudger to release some of the rear case clips.
- Tweezers (to peel off fibrous shielding tape).
- A brand new battery (about £8.50 delivered).
- Some ~5mm width Kapton tape (about £3.50 delivered).
- A bright/sunlit area to work.
- A hairdryer to soften glue.
- Any thin plastic to place stuck-on parts, where they will not obtain dust.
- A few hours of spare time to concentrate, especially if you’re new to repairing small devices. Rushing a job like this can result in a cracked screen.
Ensure you replace all the screws in the correct locations.
Disassembly
Here are some more images of the disassembly:
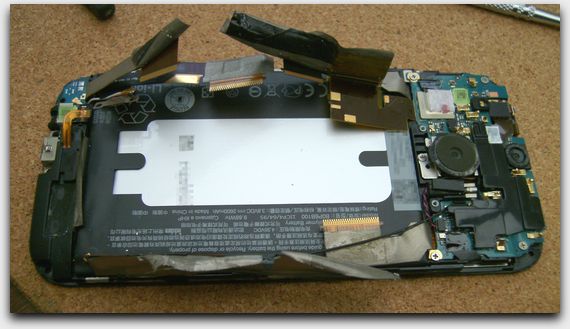
Motherboard Removed
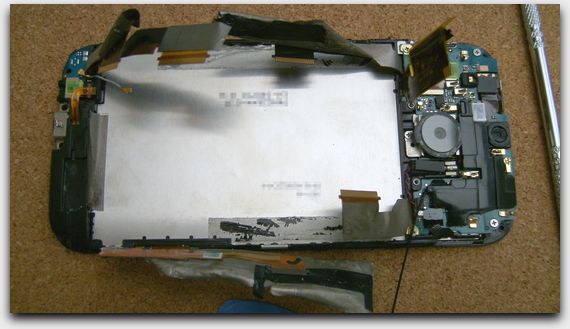
Battery Removed
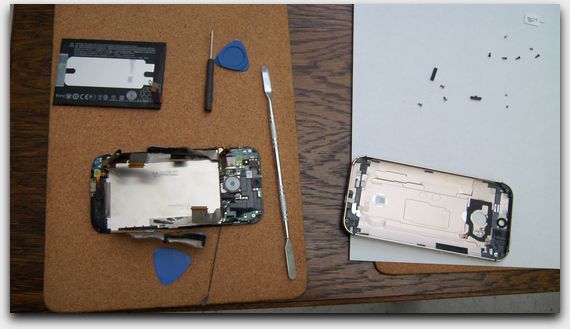
Battery and Rear Cover
Notes
Some important things you should do or know:
- Always take suitable fire precautions and work in a safe area, since you are working with Lithium Polymer batteries.
- Be sure you use thin plastic guitar picks/spudgers to work between the plastic rim and the back, which is one large piece of aluminium. Some people try to get between the screen and the plastic, resulting in a cracked screen.
- The ribbon cables inside are very delicate. Remember to lift all the ZIF socket latches before attempting to remove cables or other parts. For this repair, I left all the latches in the ‘up’ position until the cables were reattached.
- You’ll probably need a metal spudger on odd occasions. Only use this on the outer casing.
- Take care not to damage ribbon cables with the tools.
- When lifting off the back cover, there are several pieces of gold terminals touching on the back’s antennas. Do not break any of them. Some people break the terminal touching the antenna at the very top of the case, resulting in no GPS.
- My device had the fibrous shielding copper tape inside. This tape doesn’t need to be removed or cut. It can be peeled back with tweezers, sticks back down, and any curled up bits can be easily covered with Kapton tape. Some phones don’t have this shielding, but if you have it, keep it!
- When you start to remove the old battery, you have to be gentle and do it without flexing or damaging it.
- Do not trap any cables when reassembling the phone.
- Double-check the ZIF sockets are fully open before inserting the cable and then locking them shut.
Reassembly
As usual, reassembly is the reverse of disassembly. Here are some images of me doing just that:
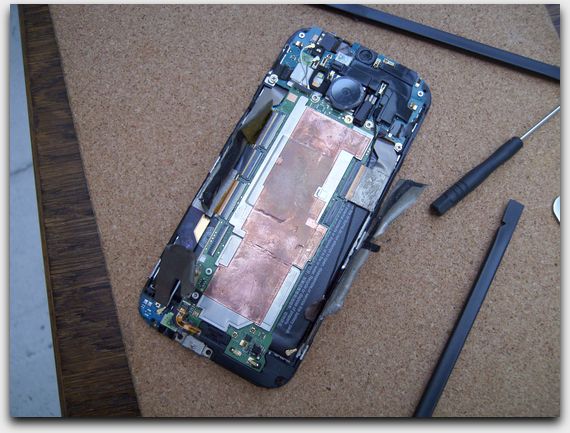
New Battery and Motherboard Replaced
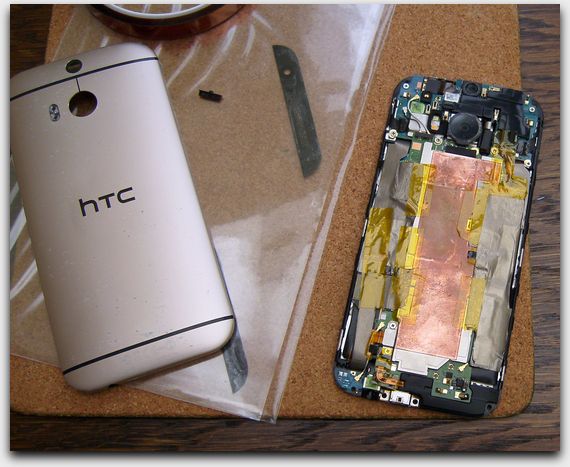
Shielding and Kapton Tape Replaced
The Repaired Device
This is quite an old second-hand device which has received a lot of wear, but with a protective case on, it looks fine. The marring during the repair was minimal. Here it is working again:
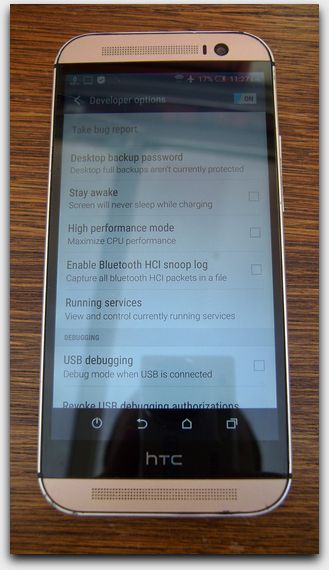
HTC One M8 (Repaired)
